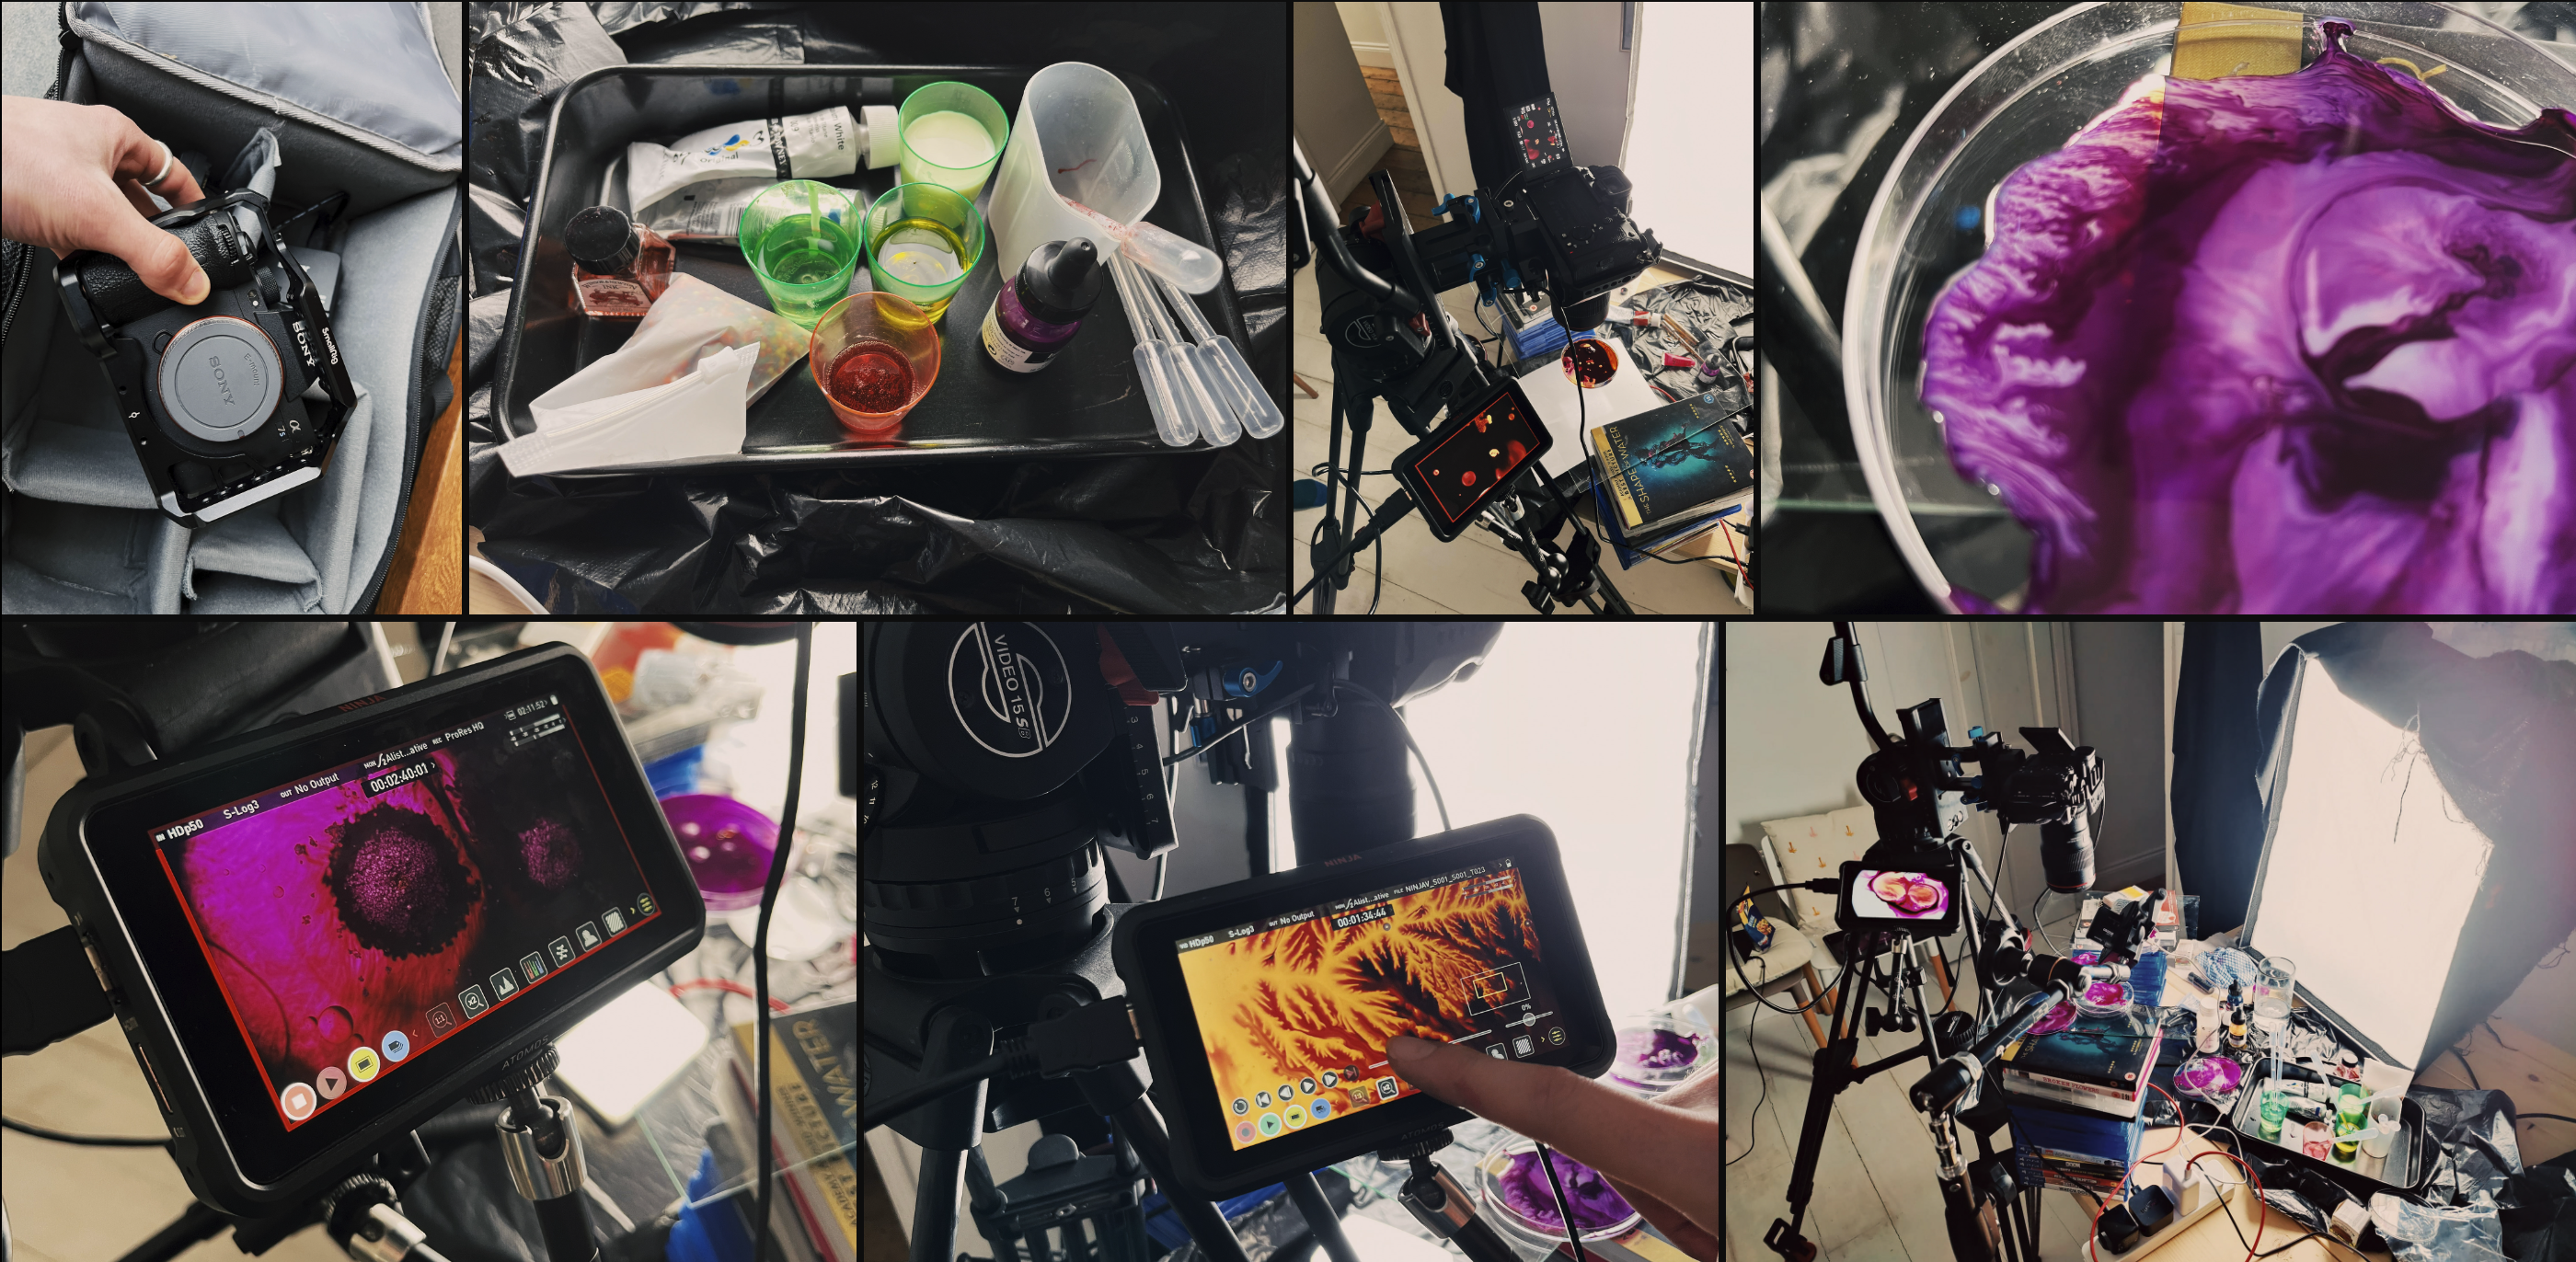
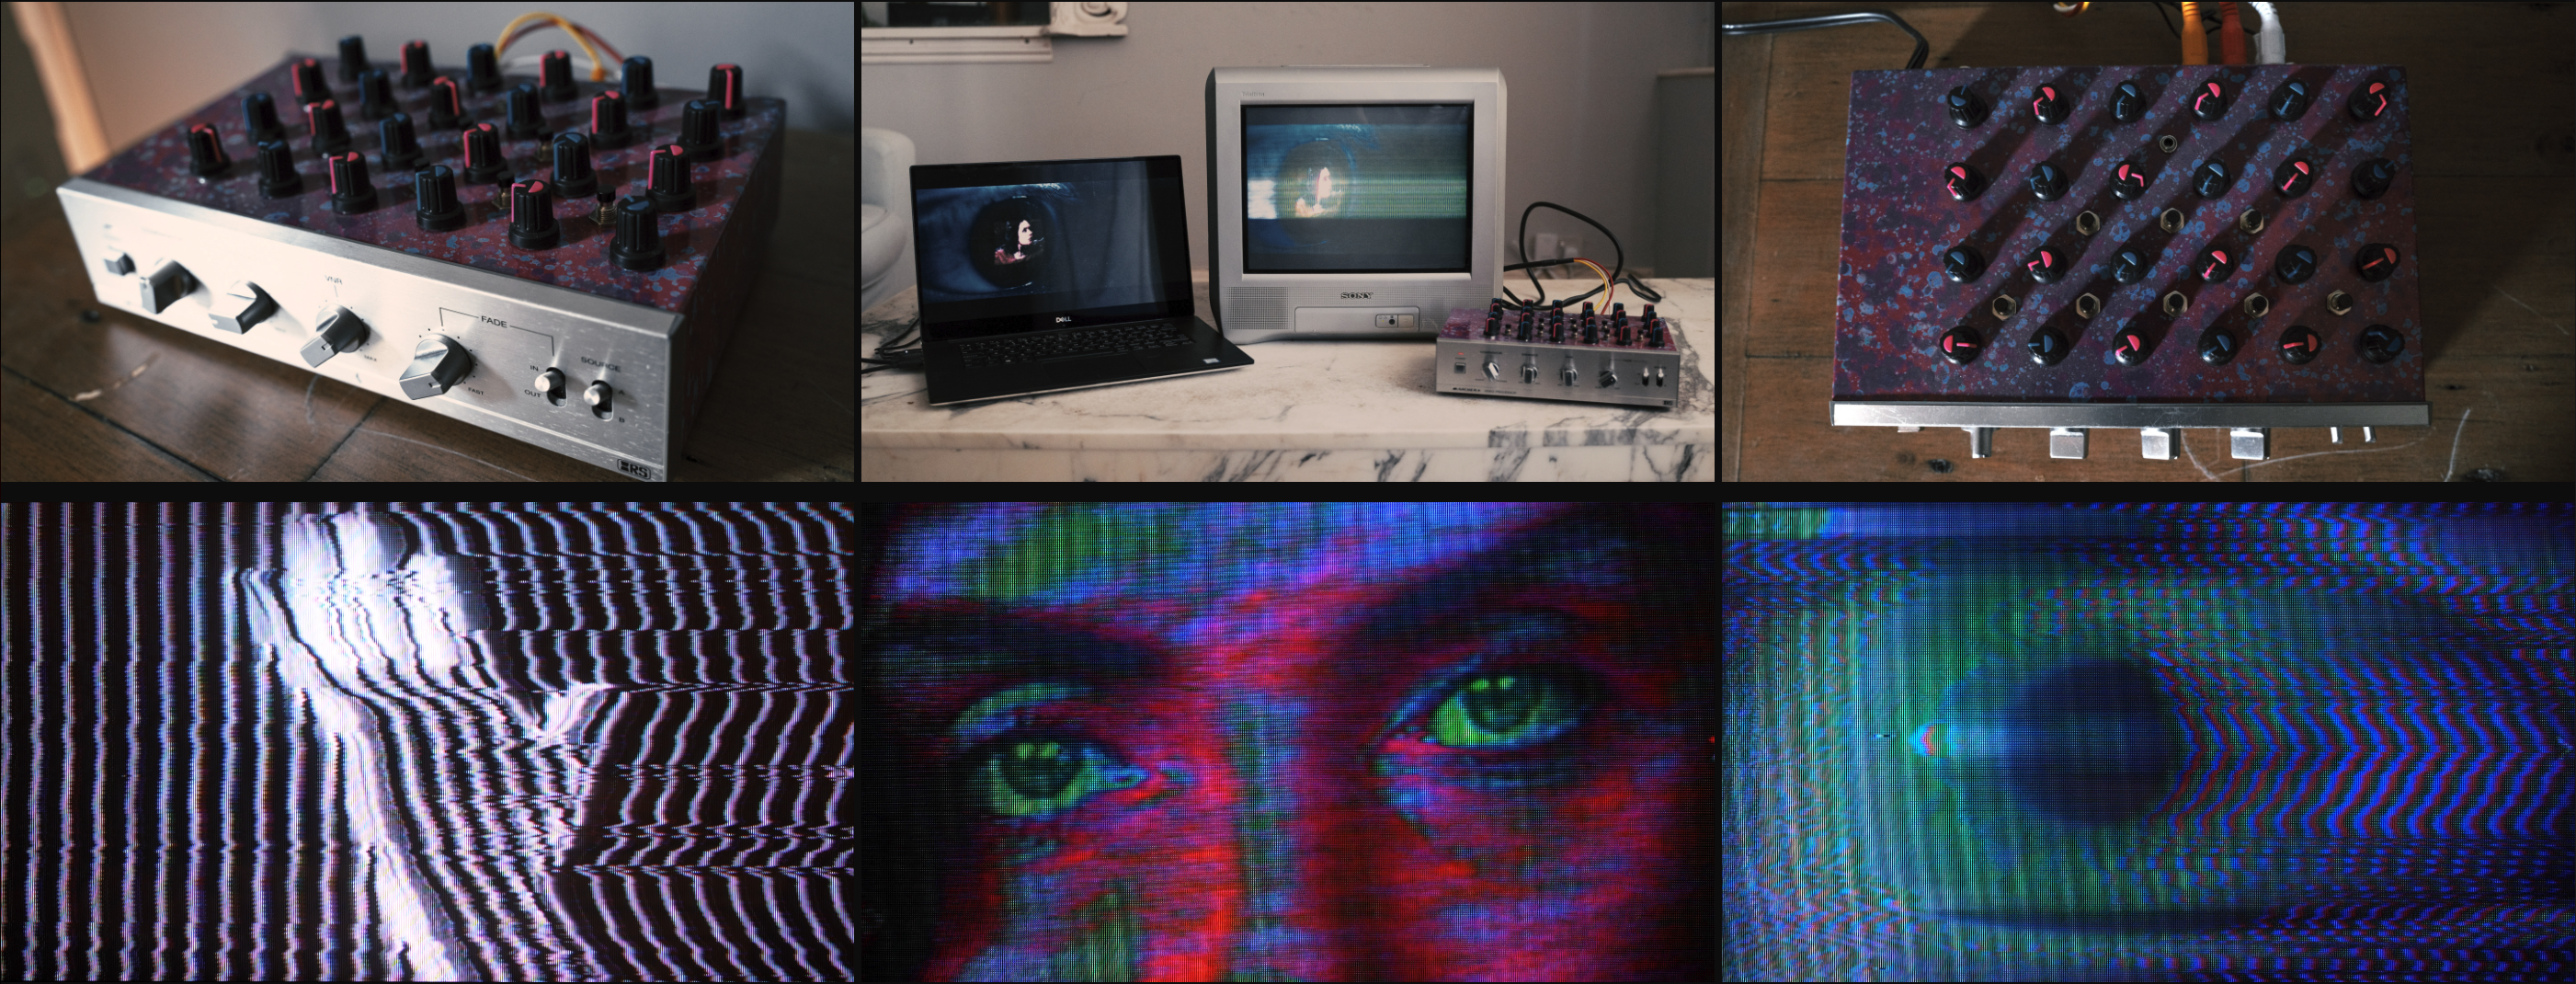
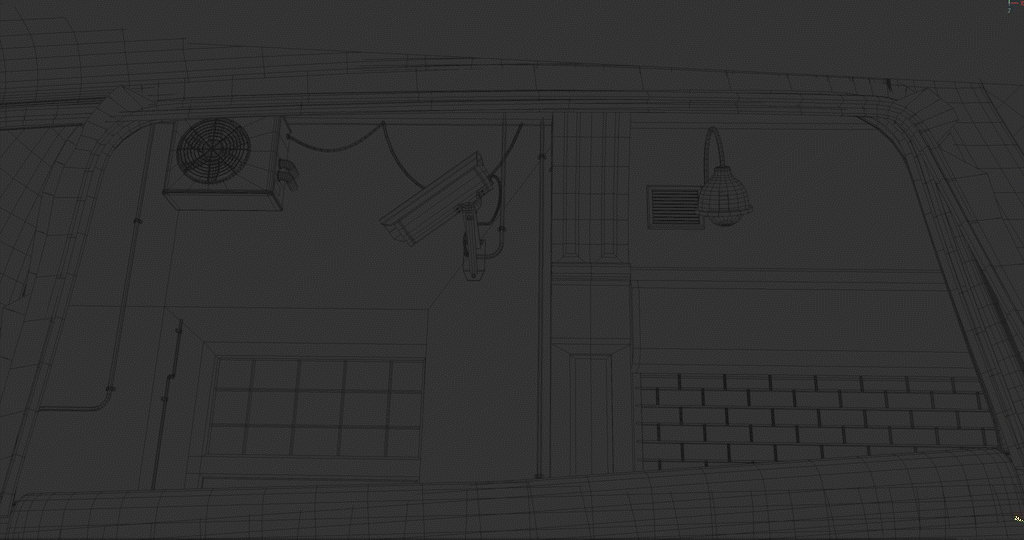
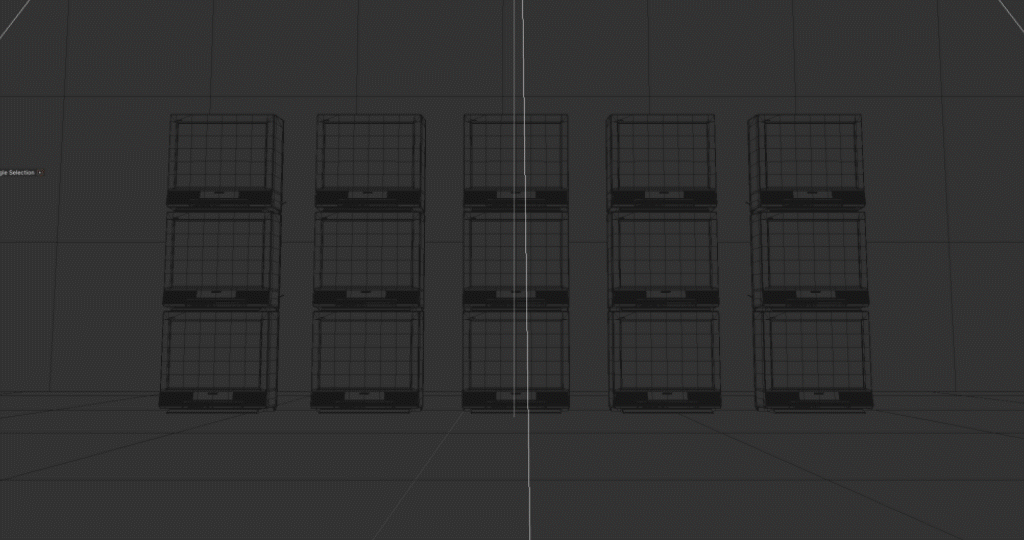
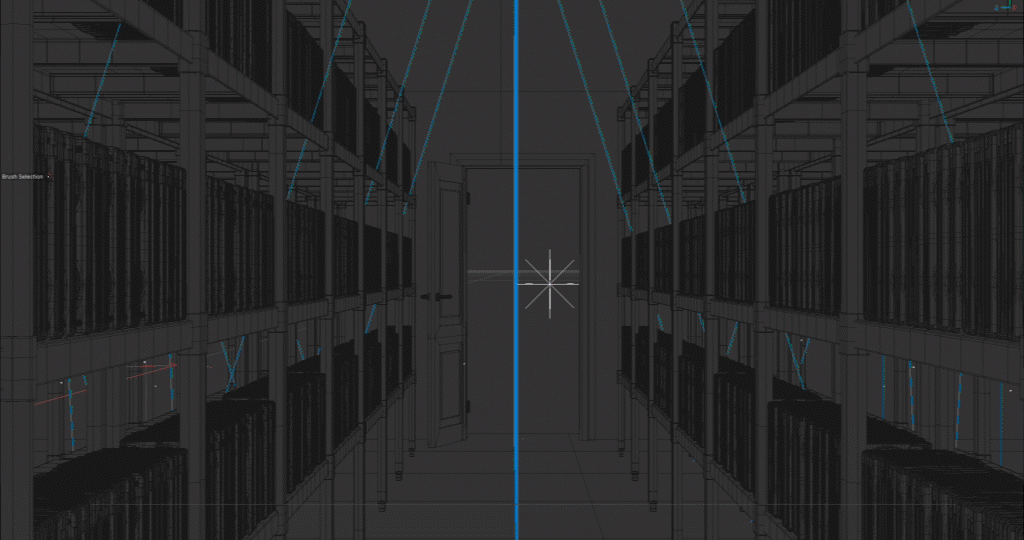
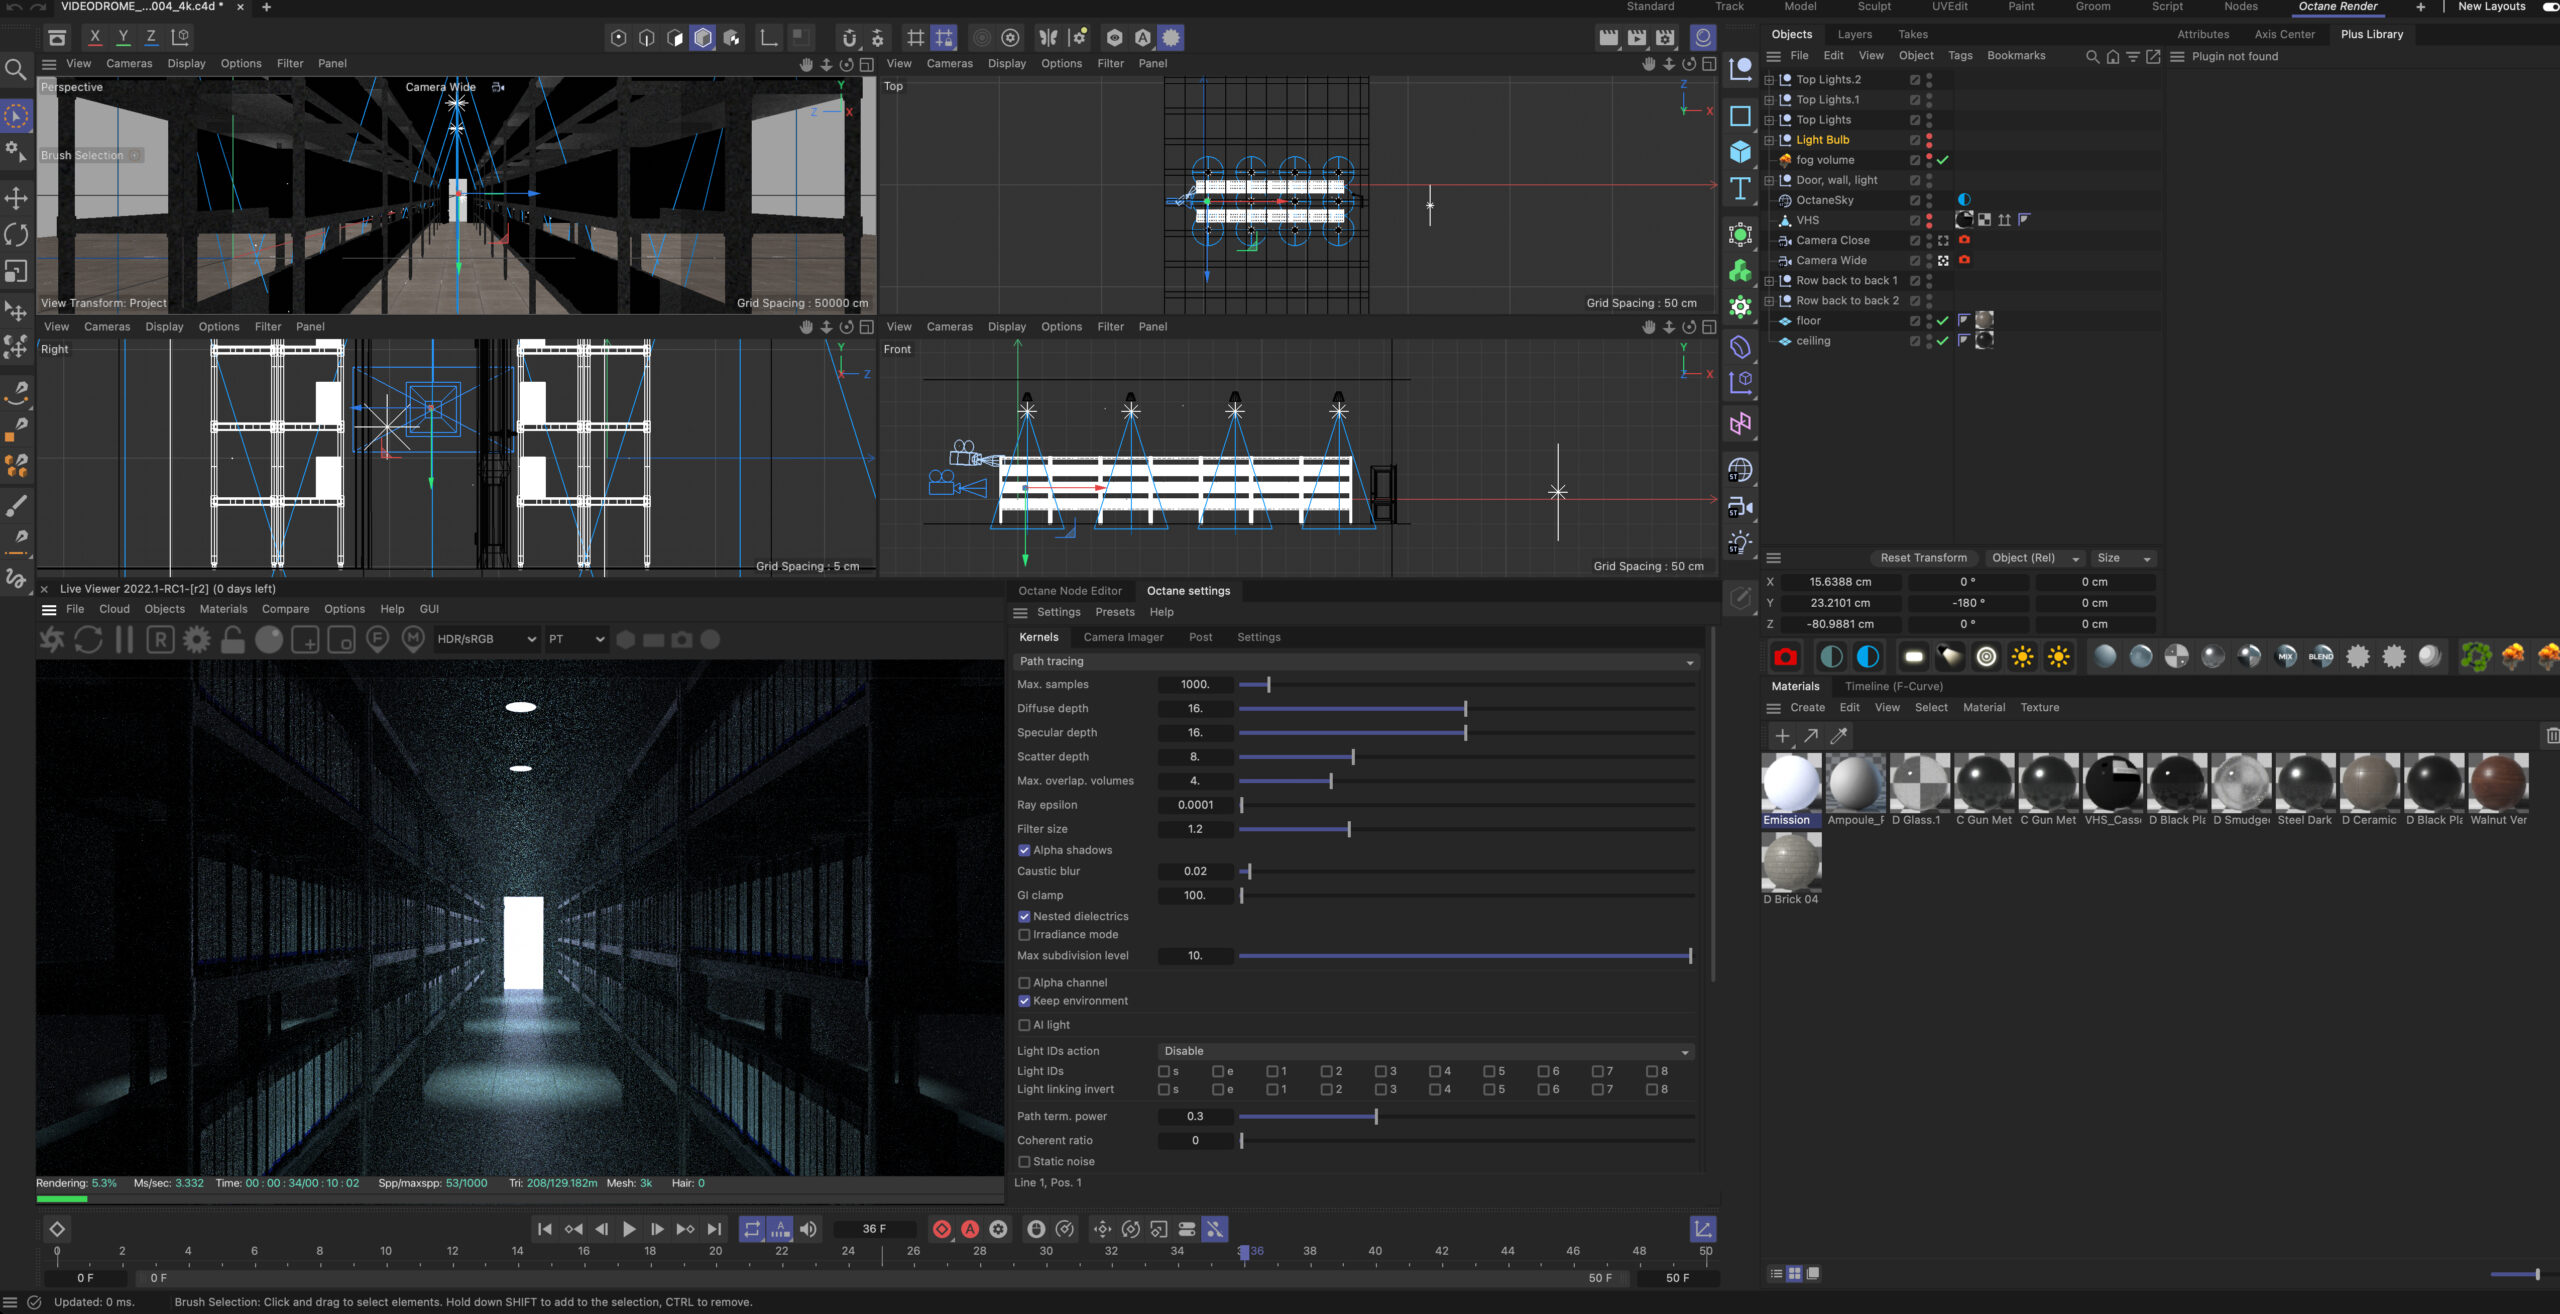
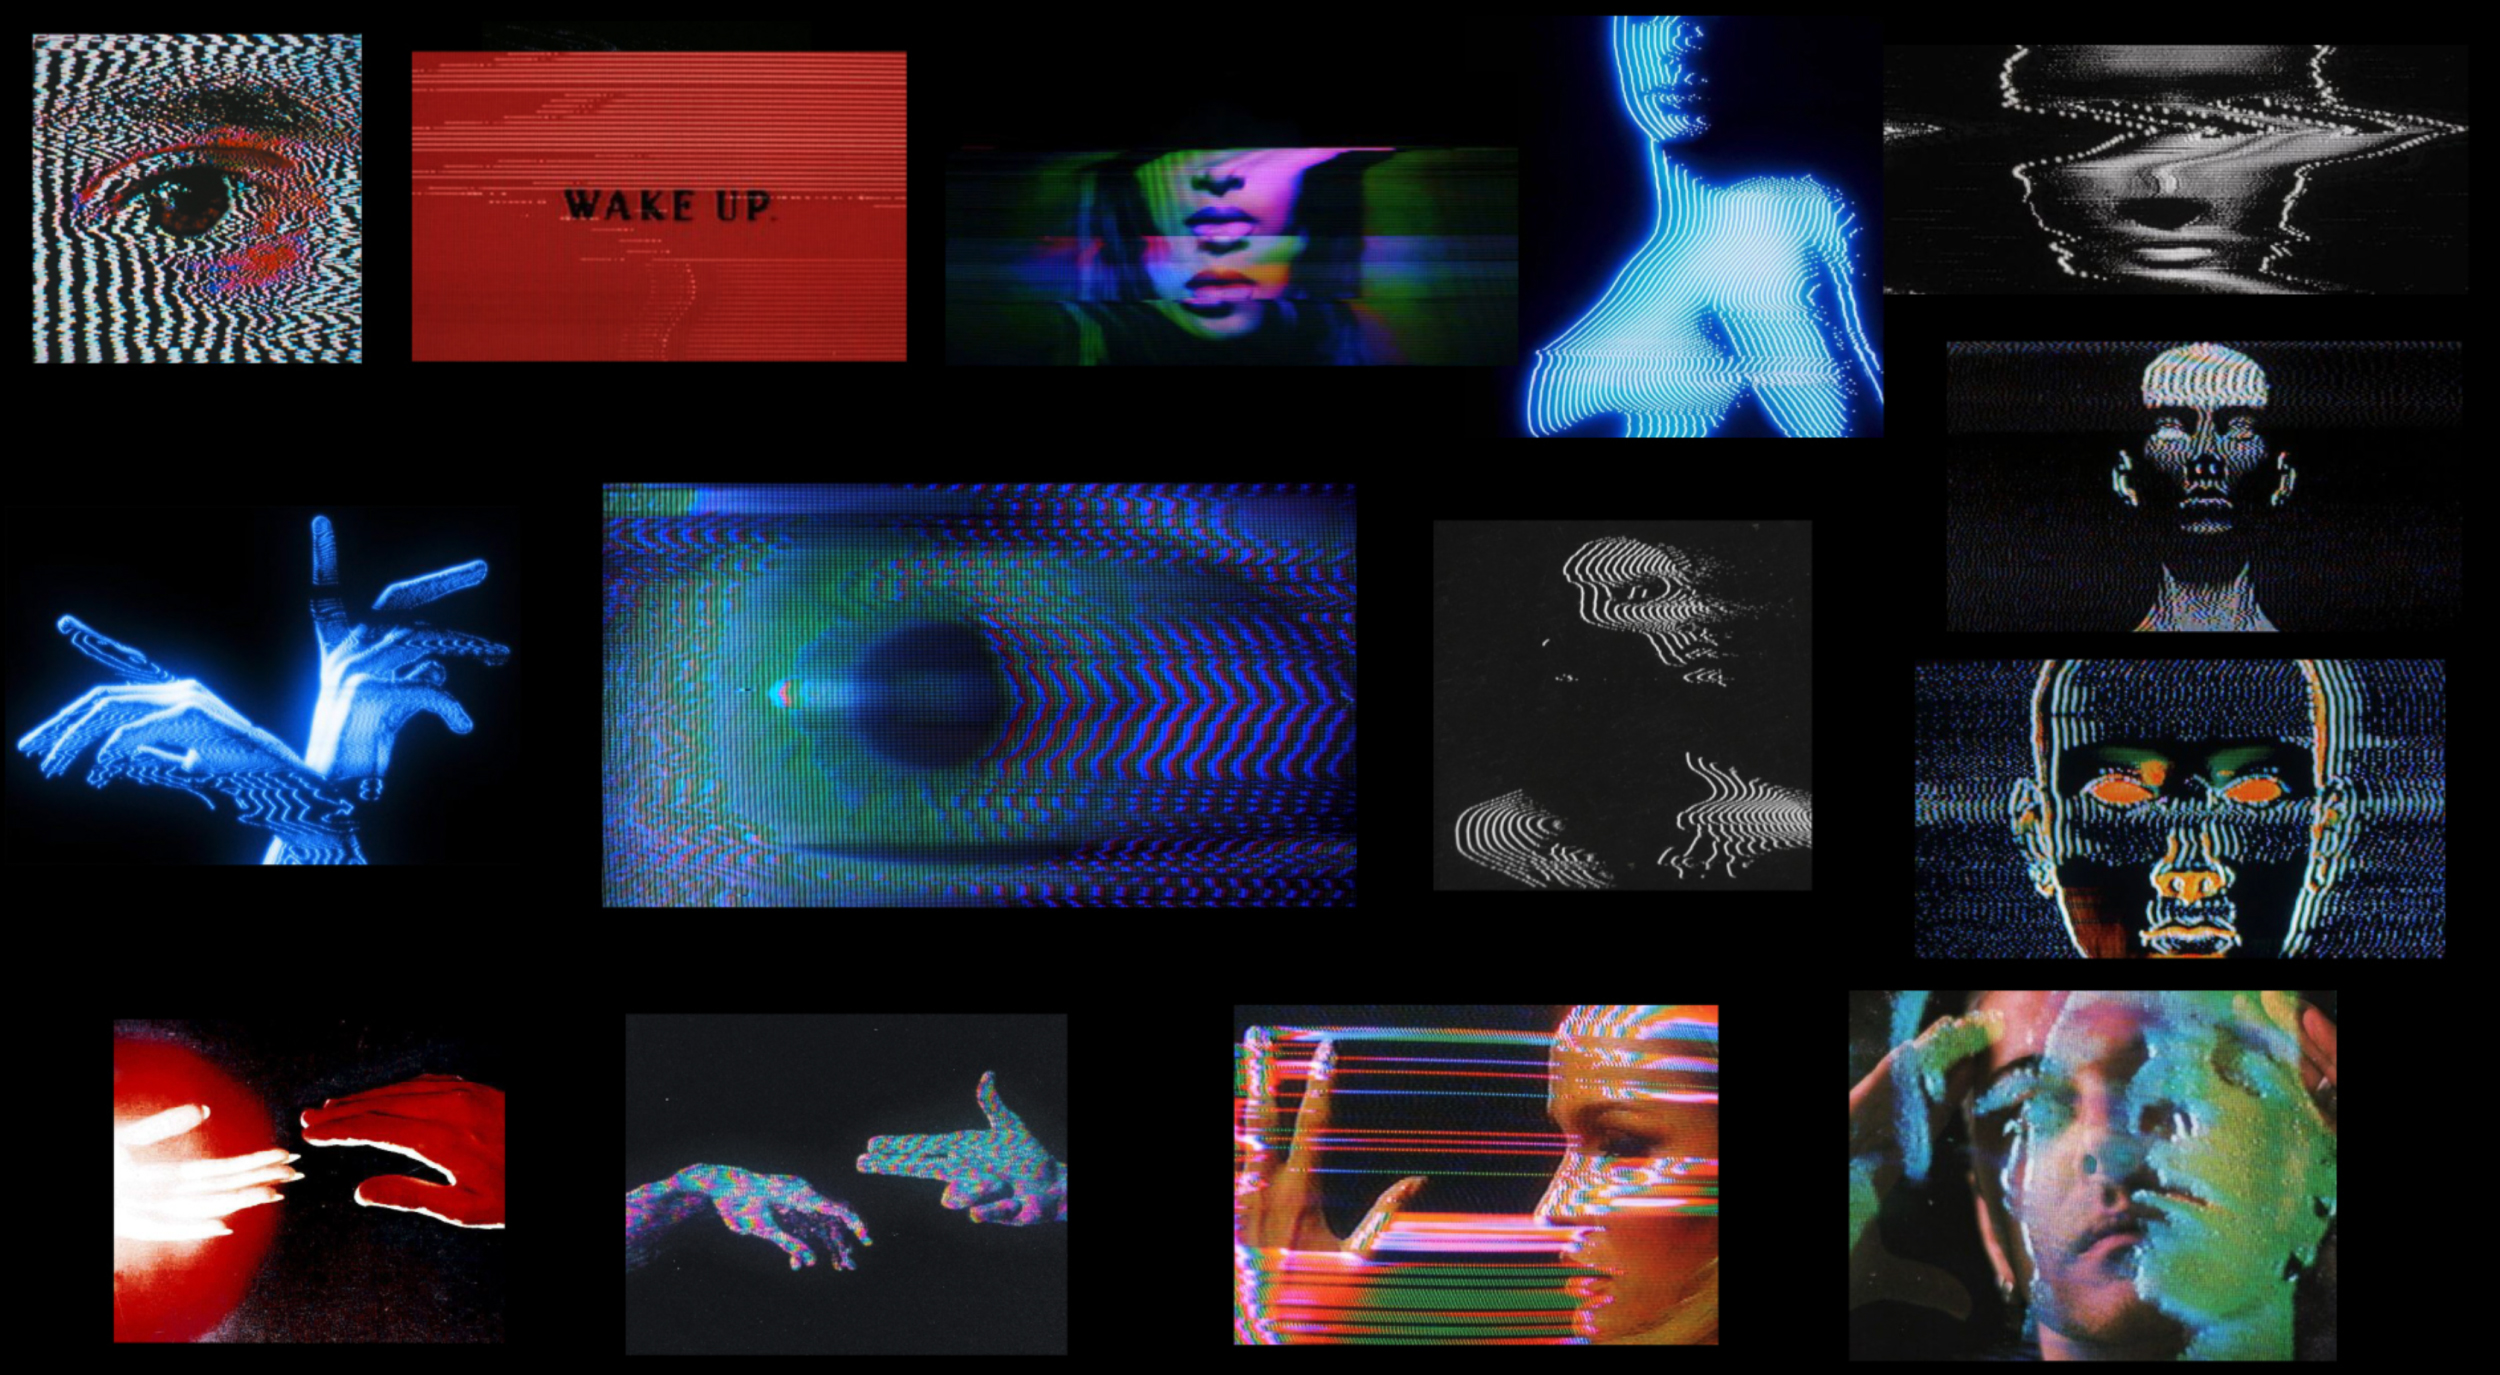
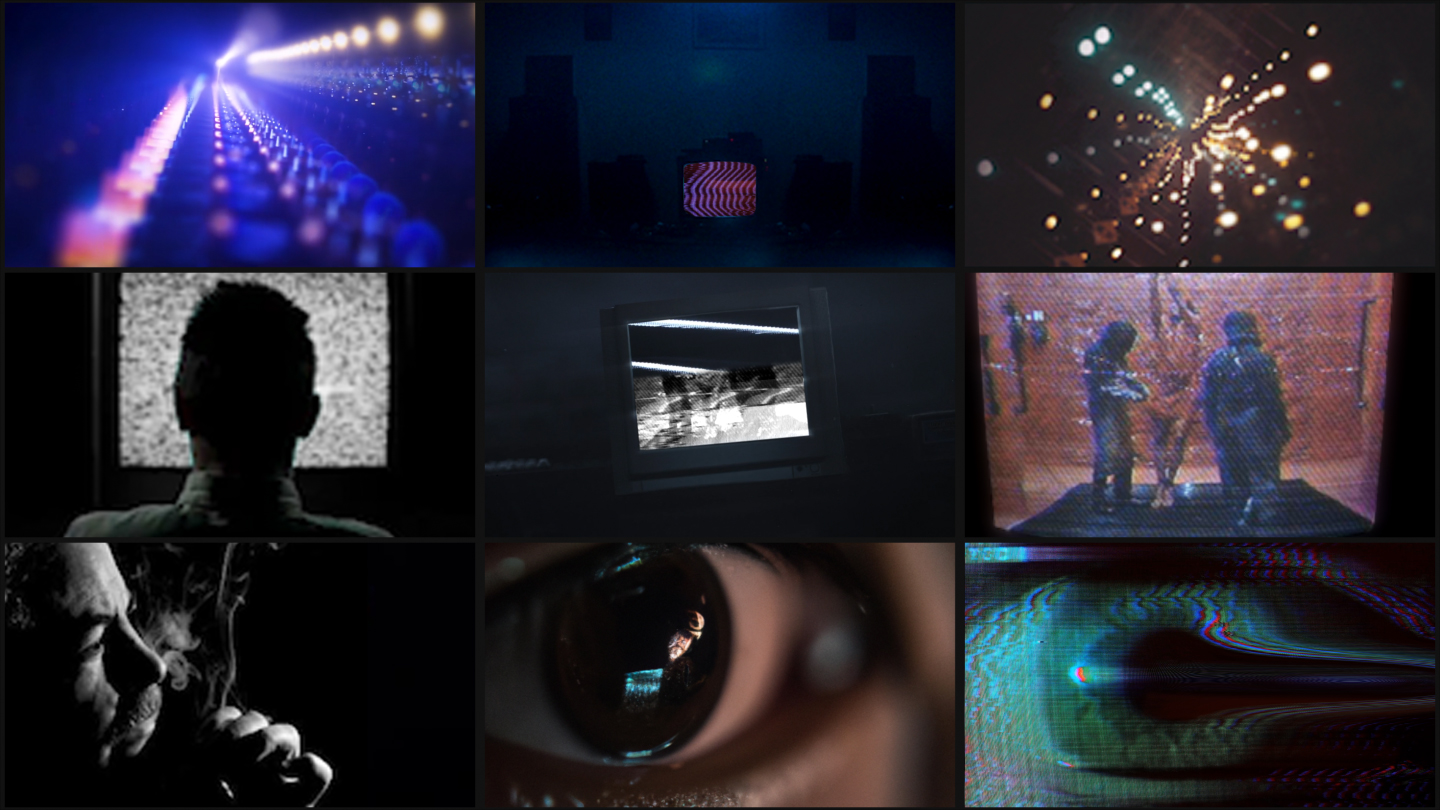
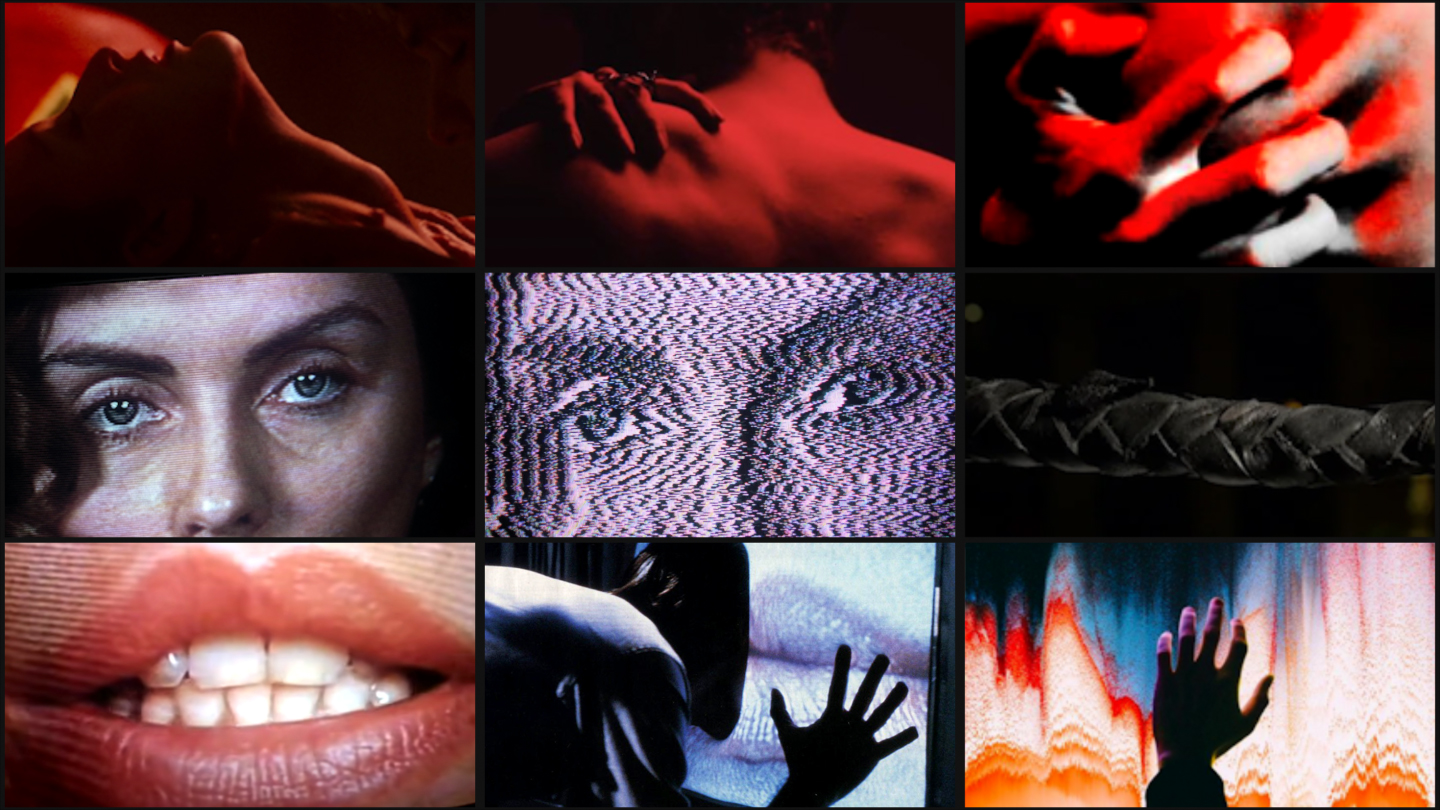
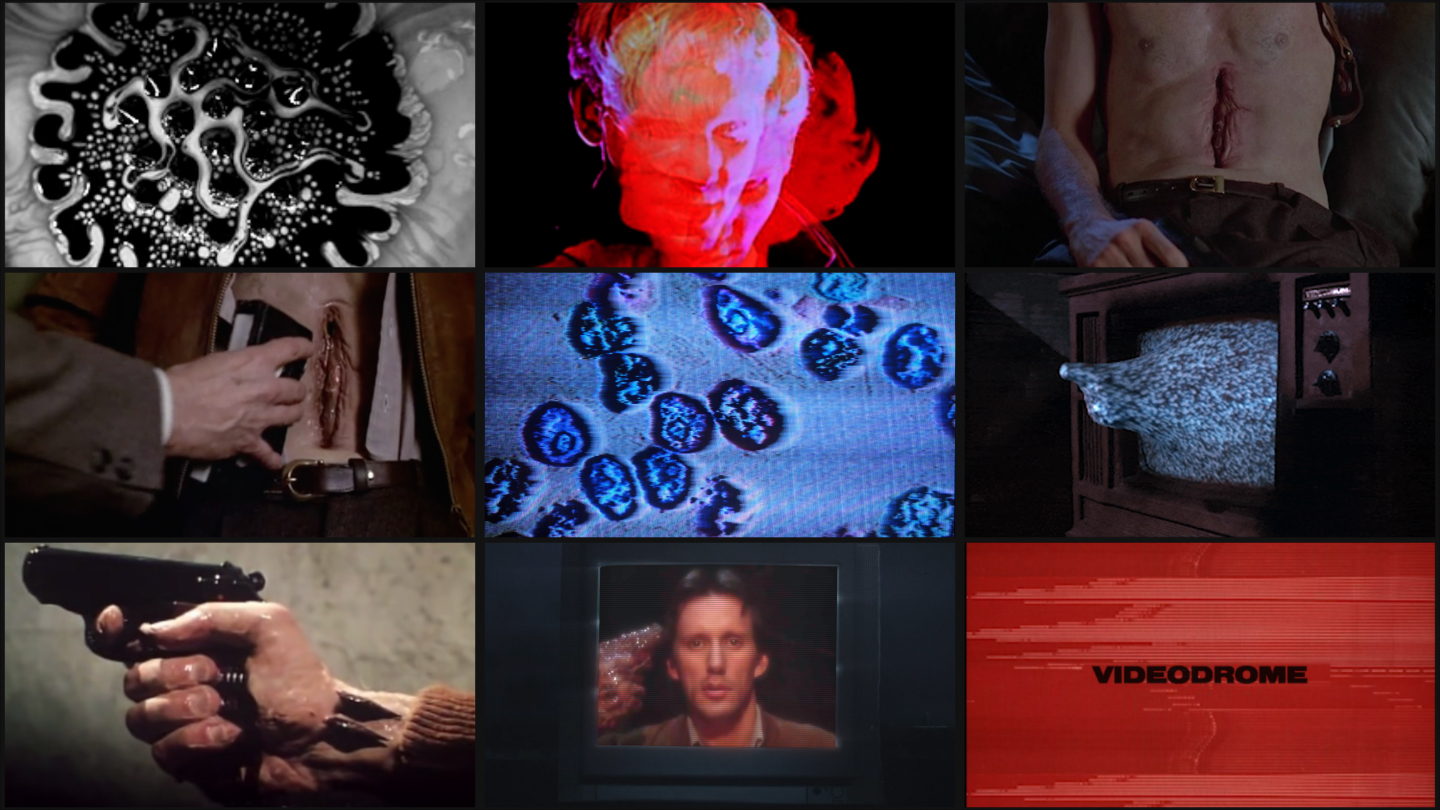
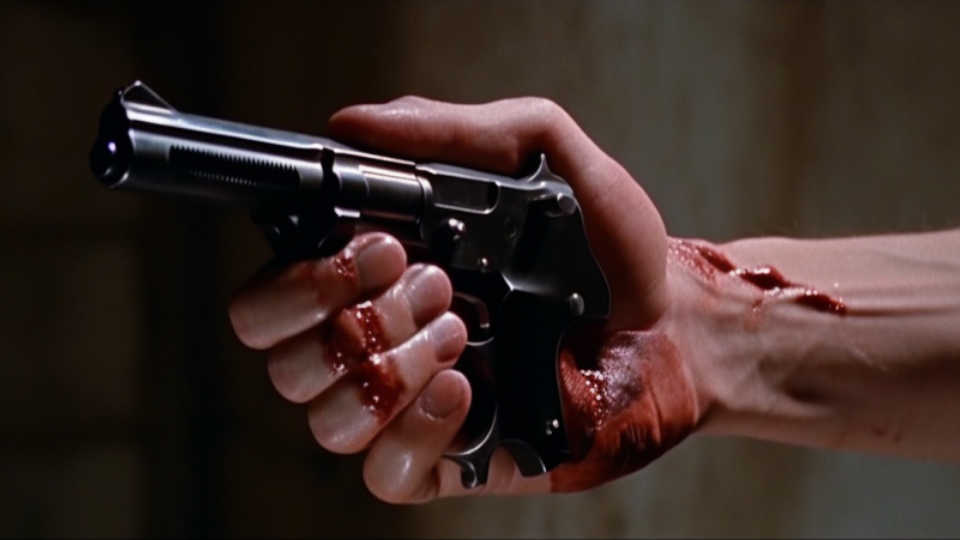
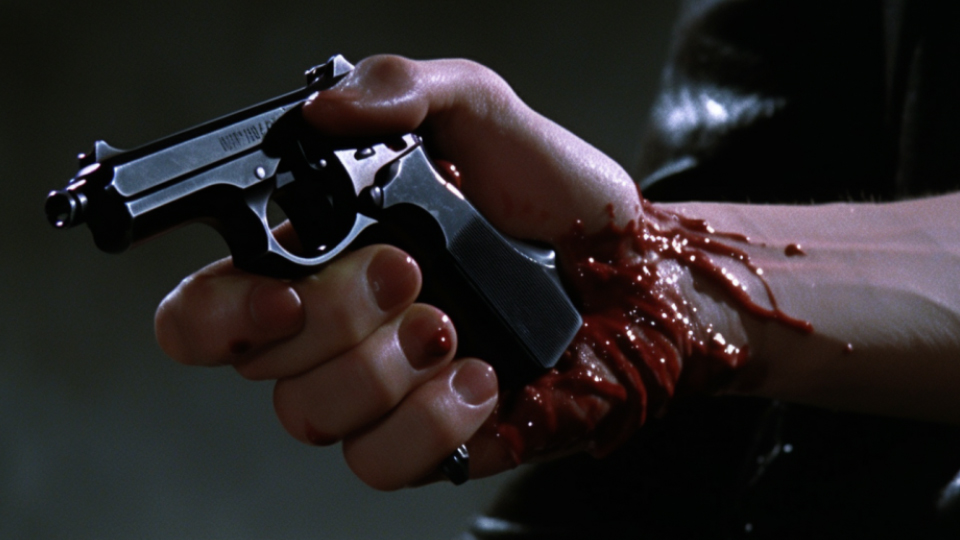
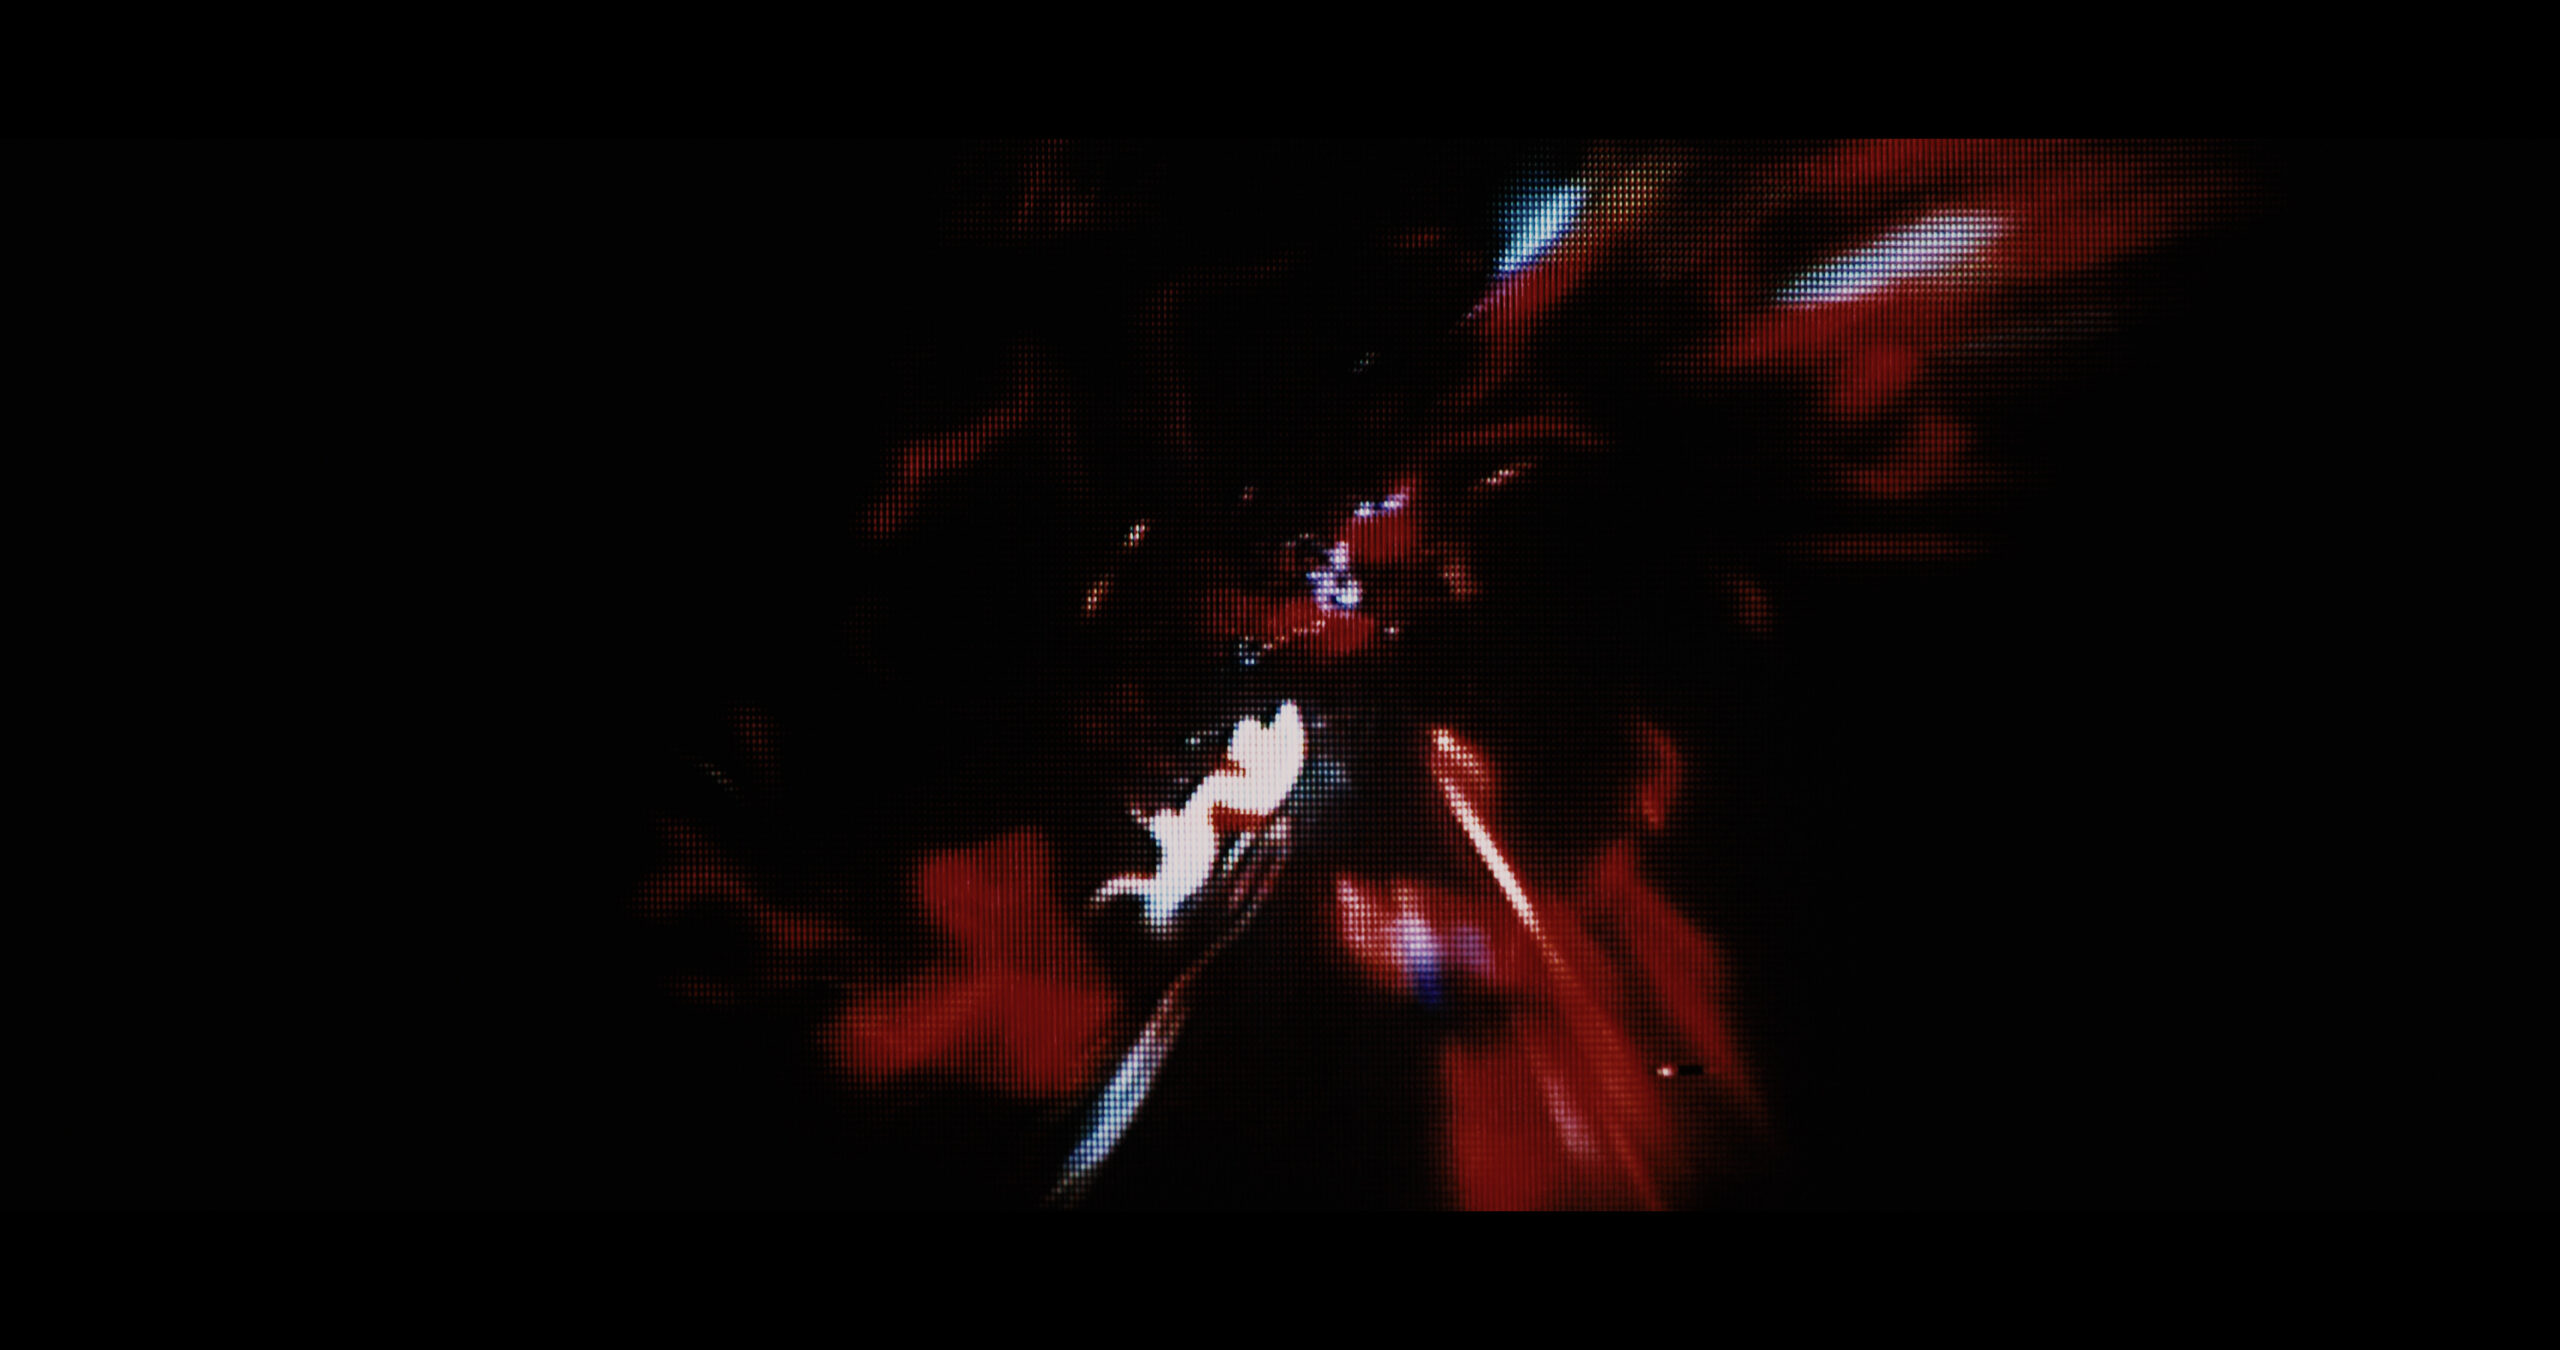
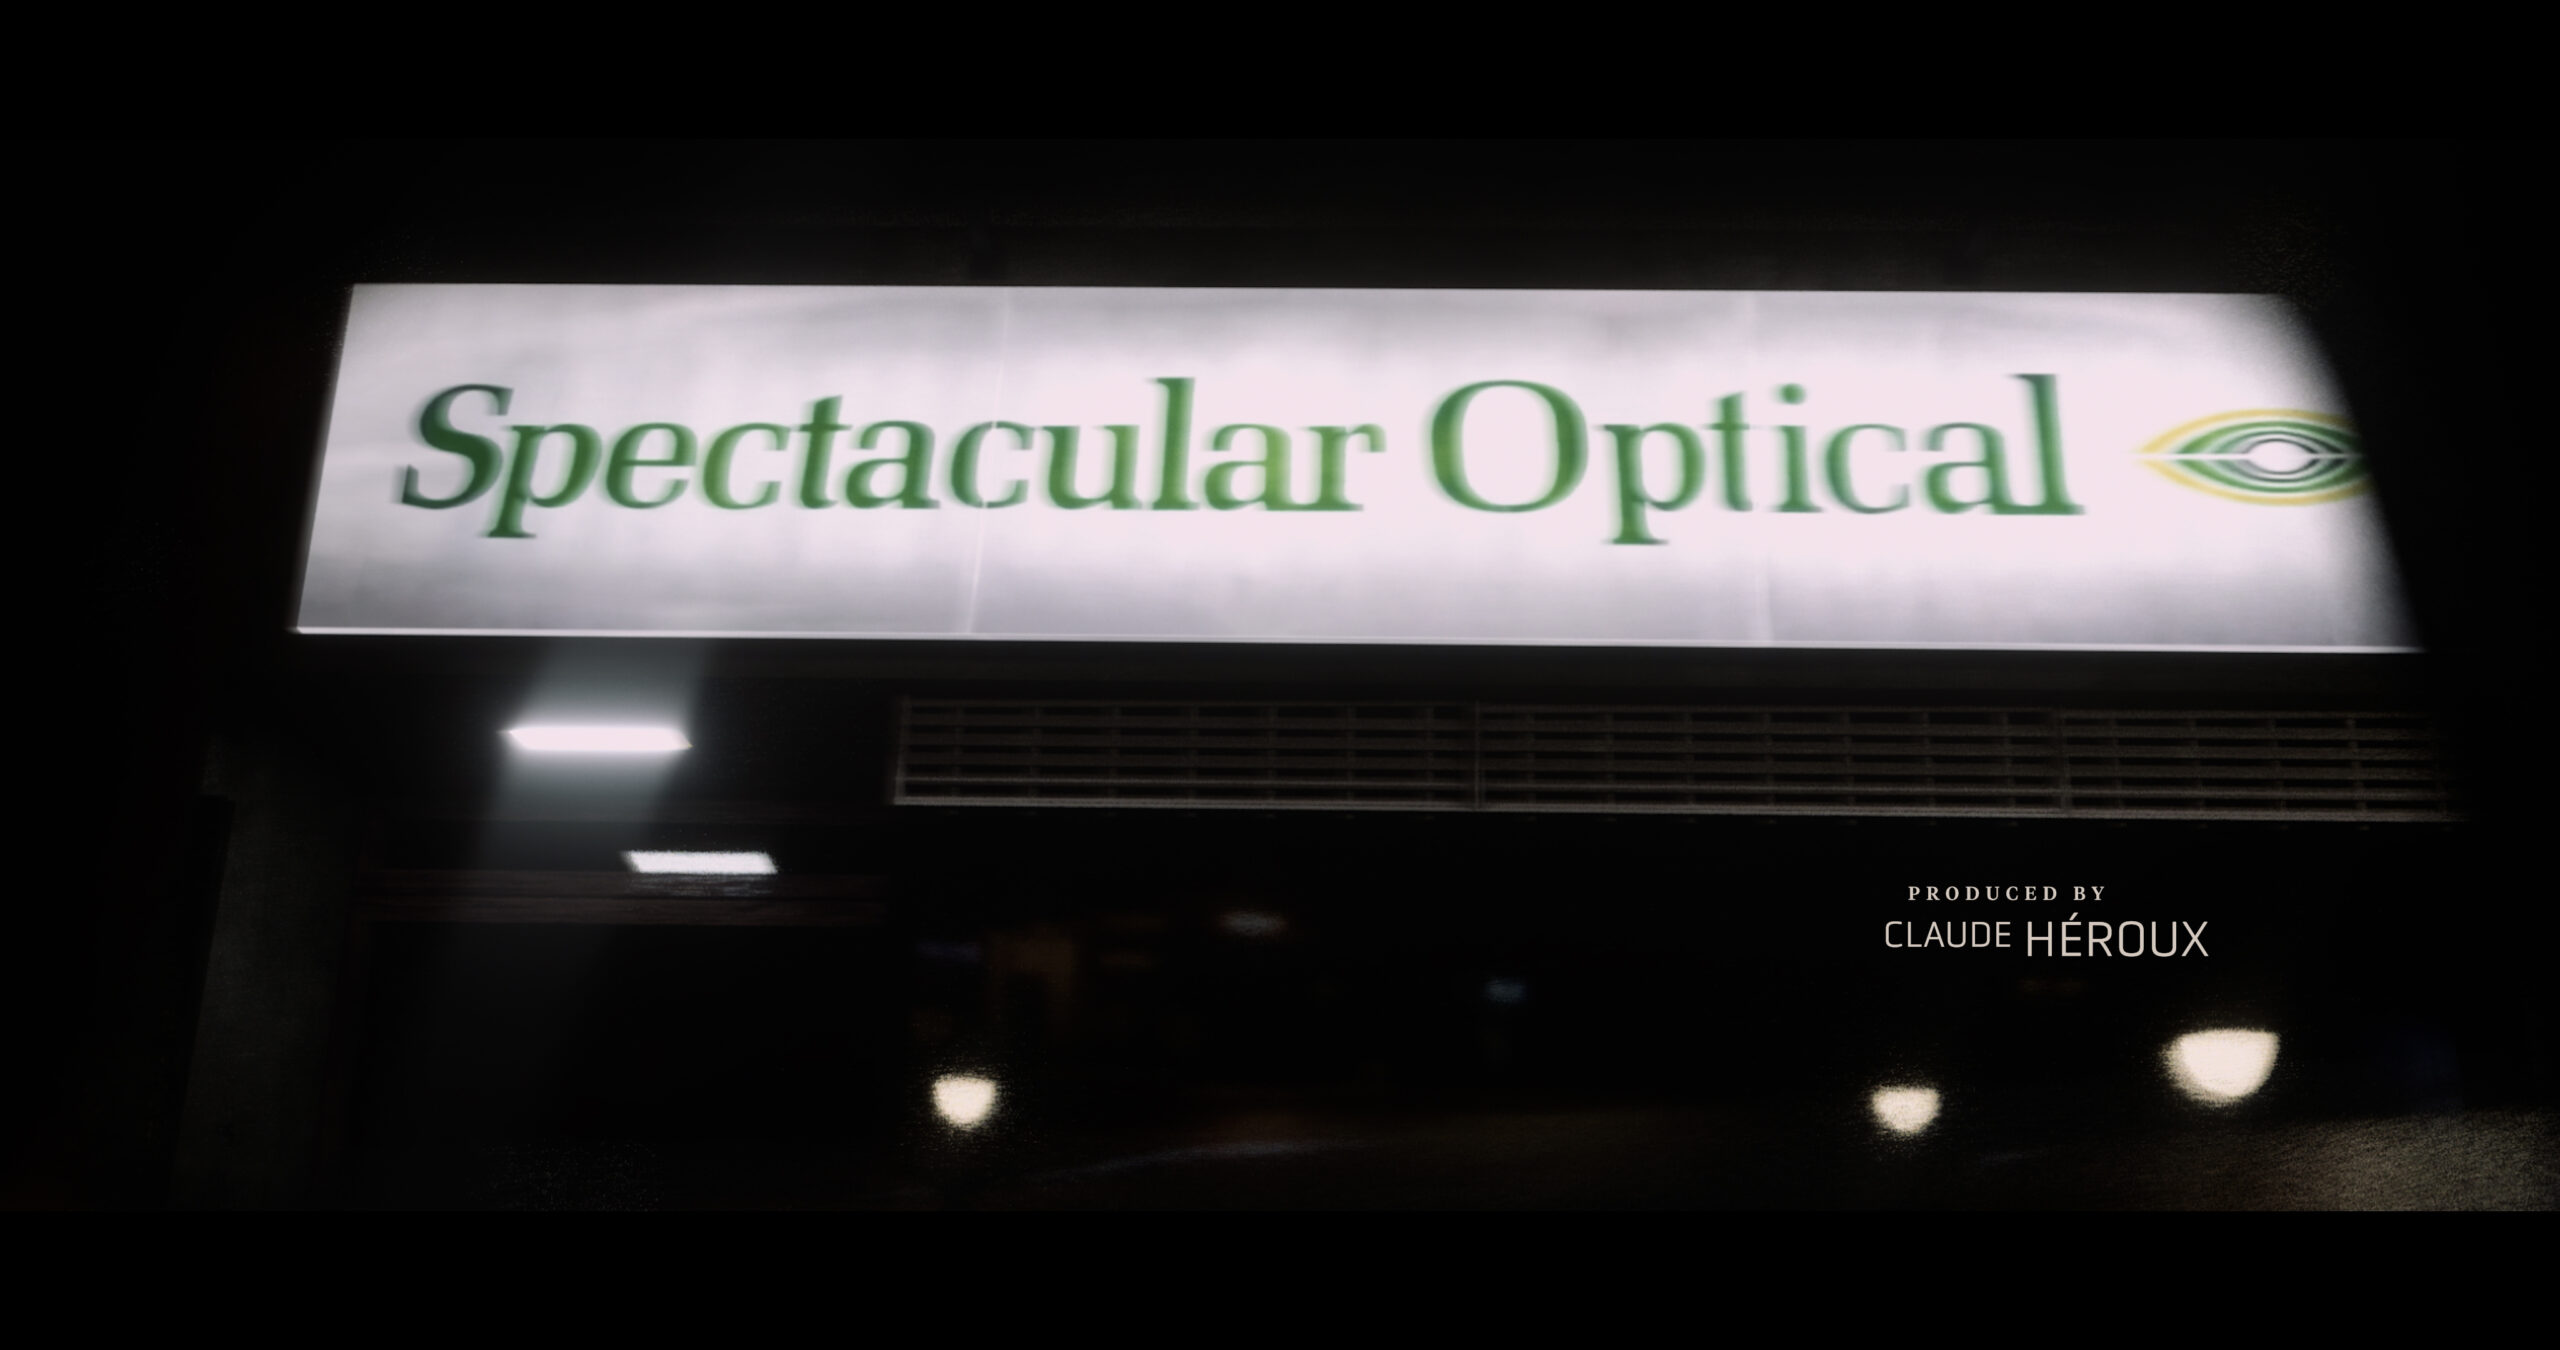
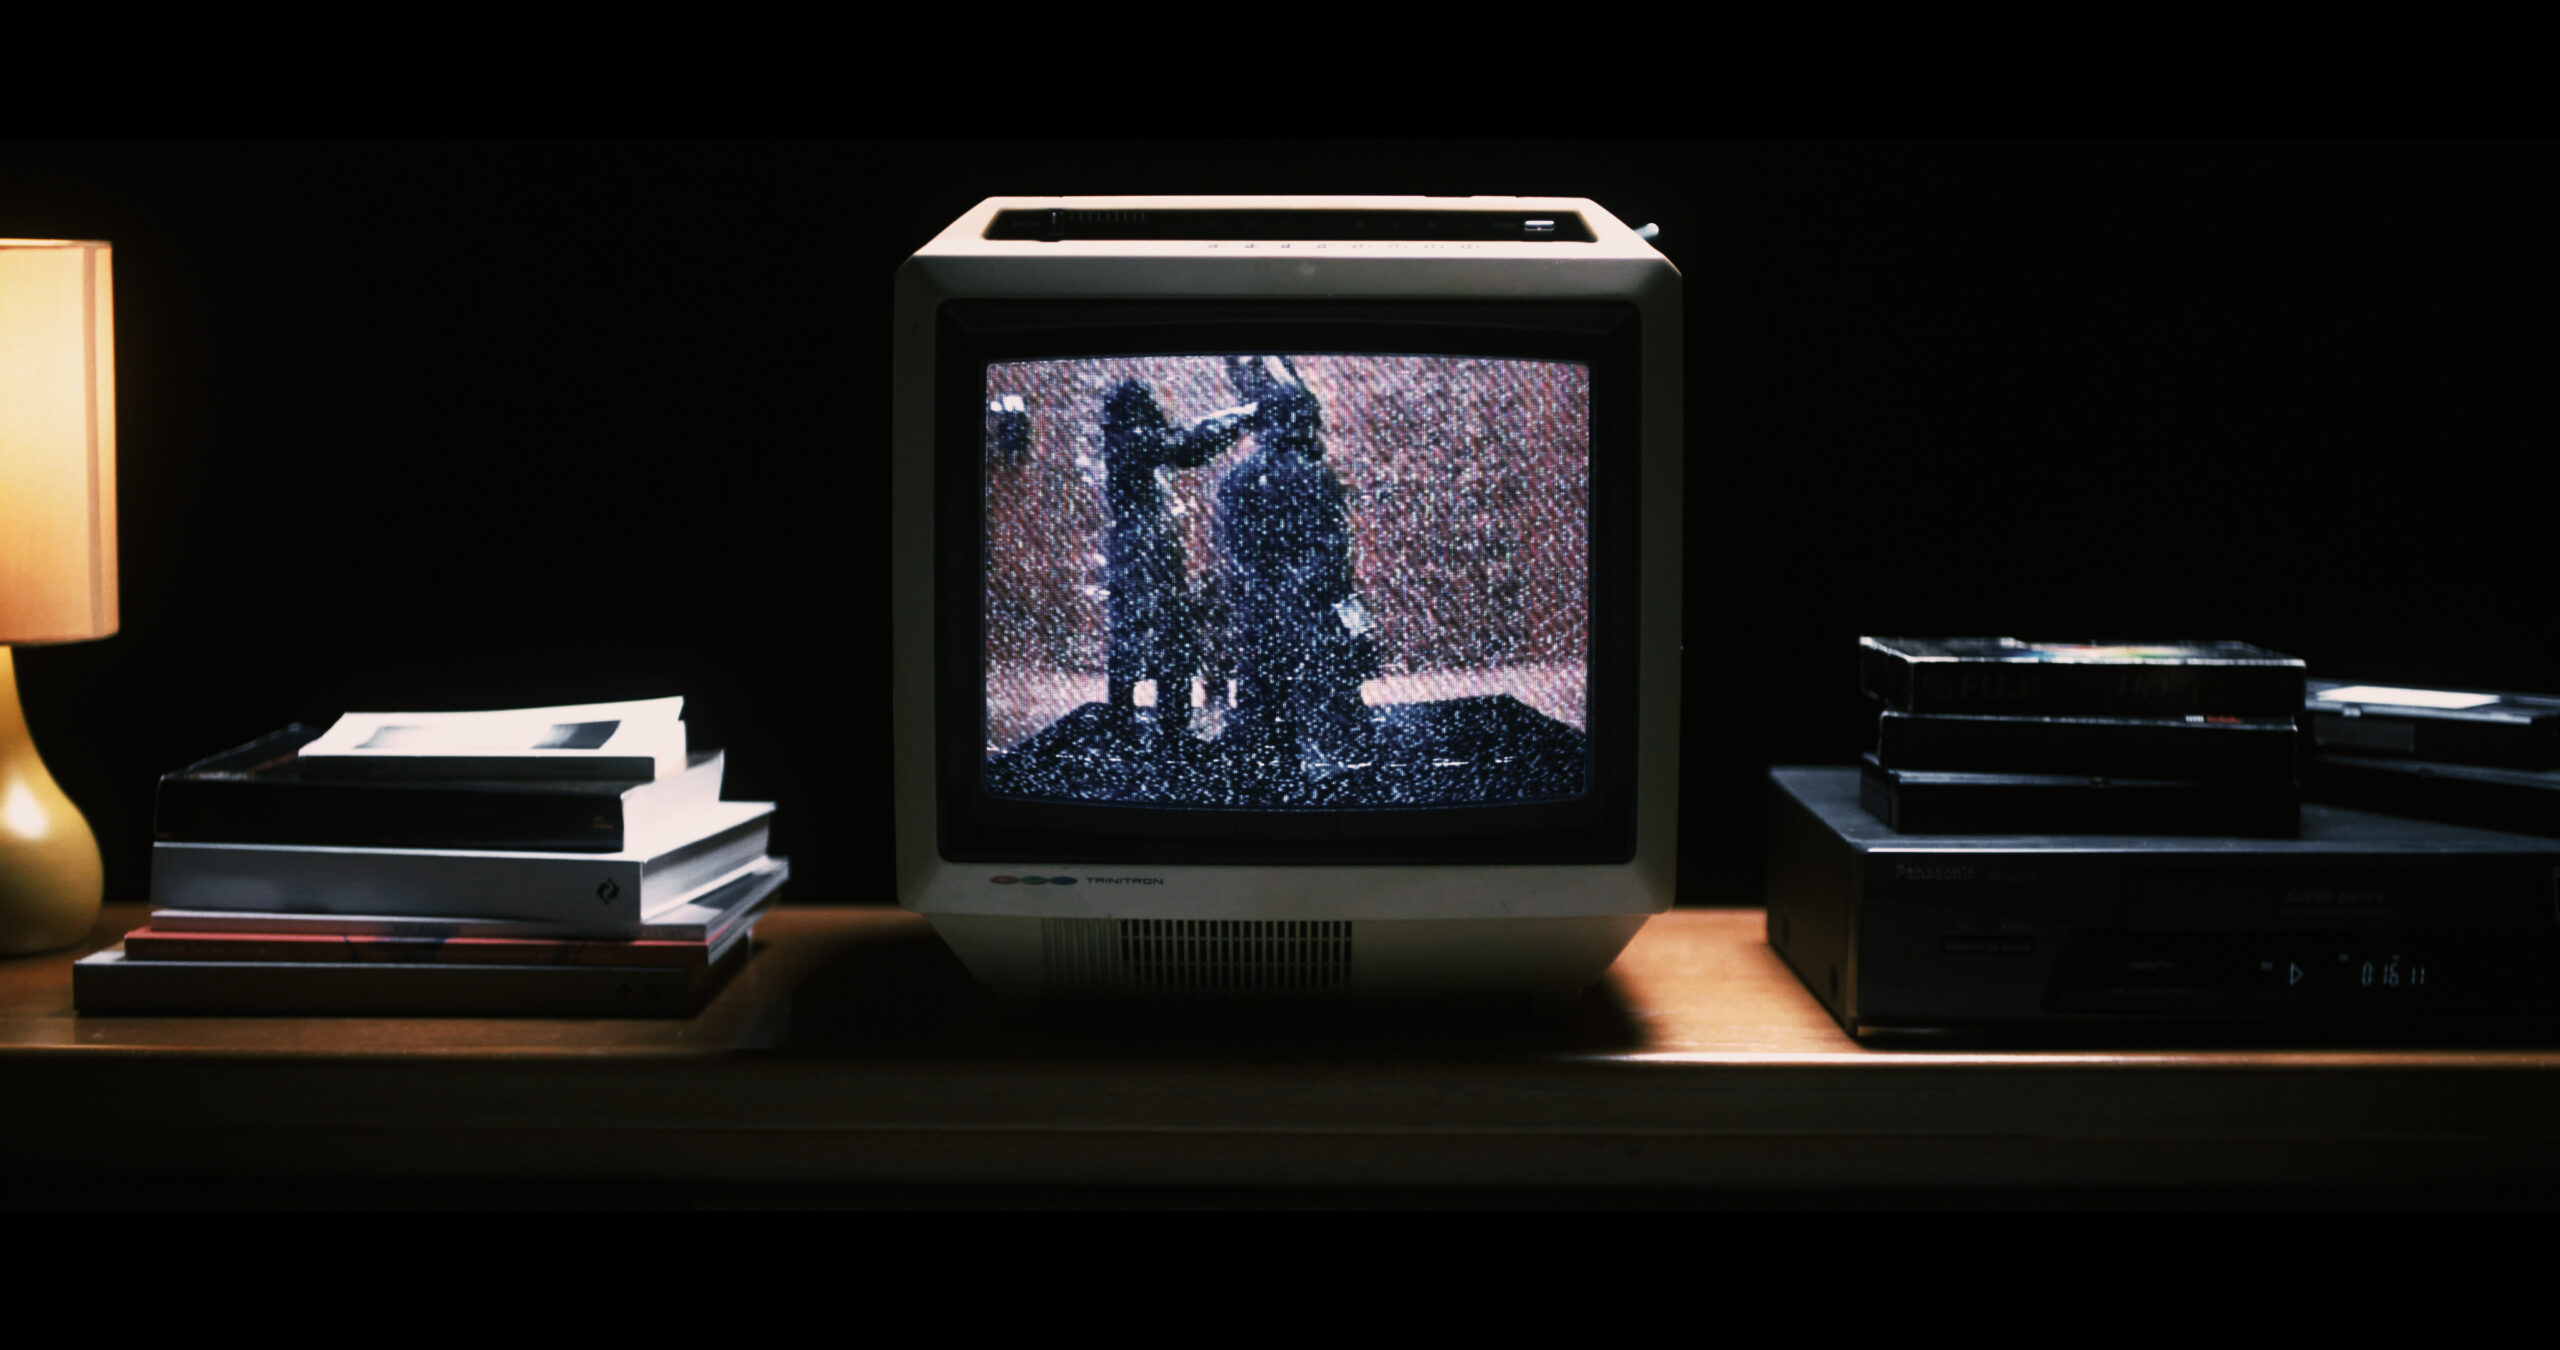
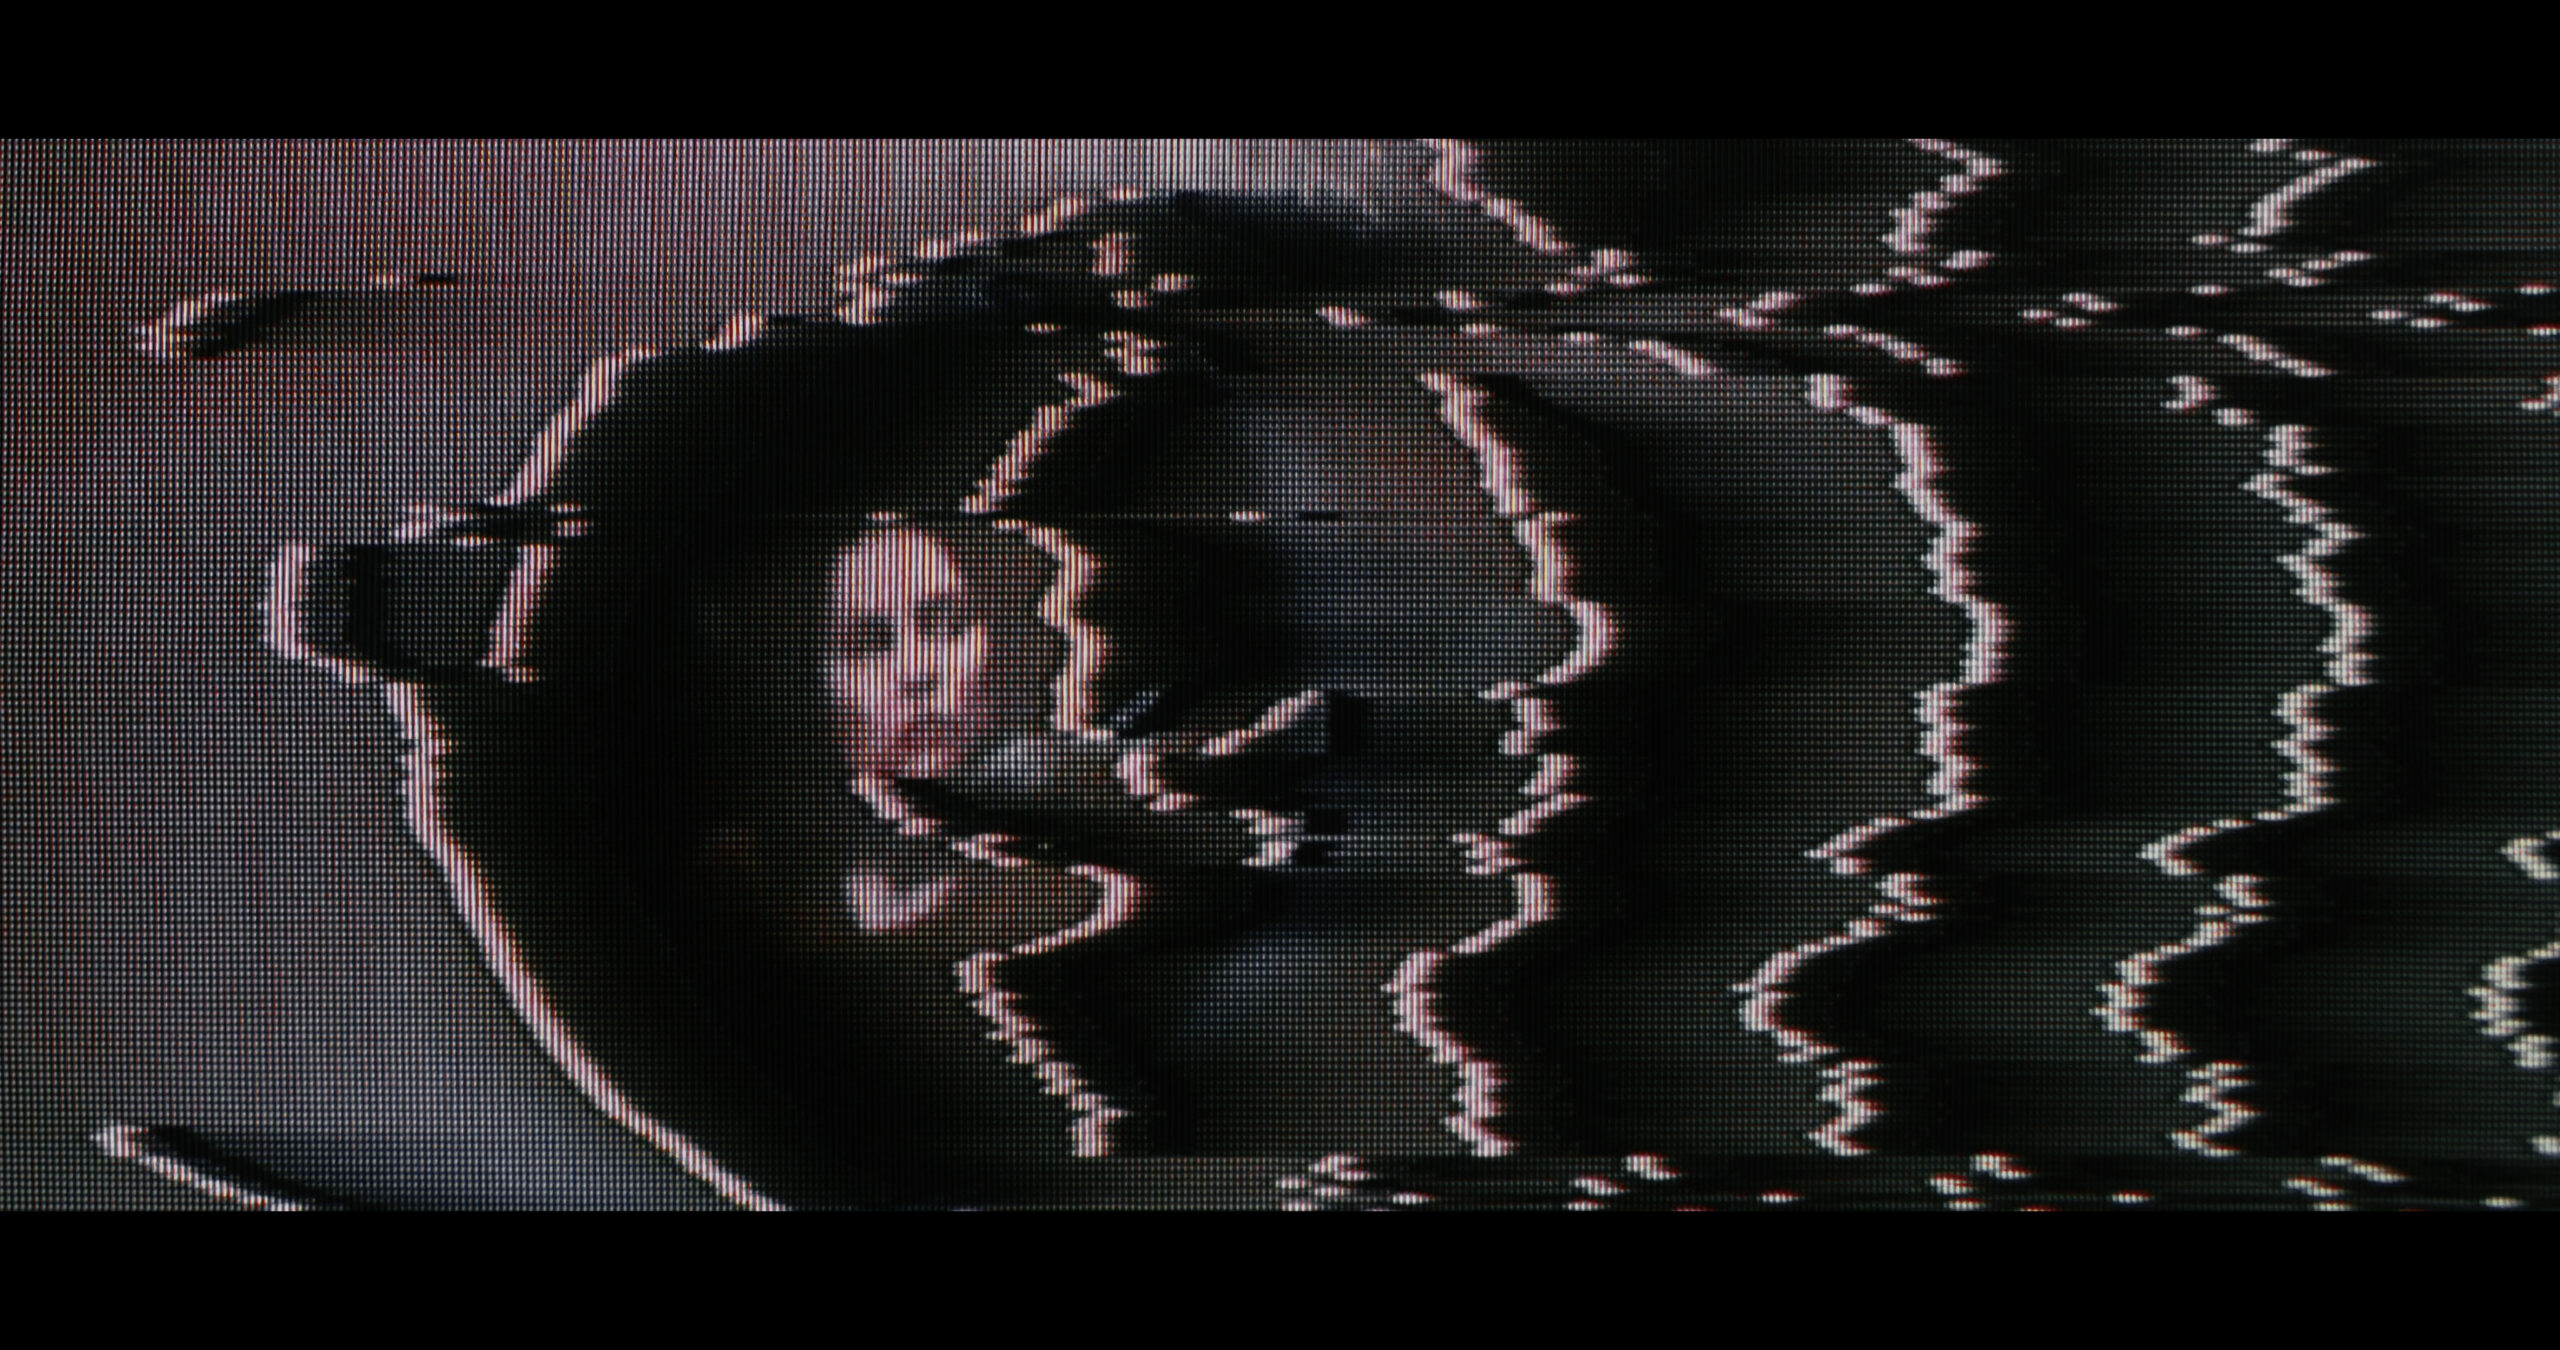
LOADING
Portfolio

Videodrome

Client Personal Project
Year 2023
Project Main Titles
"Your reality is already half video hallucination. If you're not careful, it will become total hallucination." 
ABOUT THE PROJECT
Looking to expand my filmmaking skills and delve into the world of practical and analogue effects, I wanted to create a personal project that would push my creative boundaries. It wasn't long after this decision that I stumbled upon David Cronenberg's iconic 1983 film VIDEODROME, and I knew instantly that this would be the perfect film to make a homage title sequence for. I self-funded this project and worked with a talented cinematographer and two actors to help bring this vision to life.
At the beginning of every project I dive headfirst into a brainstorming session, jotting down every idea and concept that pops into my mind. I try my best not to overthink this stage, and simply allow my mind to wander. Next, I start building a collection of visual references that align with my brainstormed notes. For this particular project, I honed in on three key concepts that captured my imagination:

1 - Analogue screens/glitches
2 - Light trails
3 - Macro liquid reactions

The original moodboards that helped inspire my process can be found above.
To create the storyboard, I compiled a list of all the shots I envisioned could be needed for the sequence, then used ShotDeck and google images to find reference shots. I wasn’t seeking a match in terms of composition or lighting, my aim was simply to select reference shots that effectively conveyed the story I was telling. The reason for this is that I believe the search for close references can be both helpful and harmful in the creative process. While it's important to have a direction to aim towards, relying too heavily on close references can limit your creativity and result in a lack of your own original expression.

Next, I arranged my reference shots in sequential order that matched the narrative I had in mind for the sequence. This would become my shot list for the shoot day, which you can see in the images see above. The last stage of pre-production involved the lighting style and colour palette. Working closely with my cinematographer, we brainstormed and discussed the project, followed by using ShotDeck to compile a visual deck. This ensured that we had a shared creative vision for the project’s look and feel.
On the studio shoot day, I had one day on location with the actors to get all the shots I needed. Me and the cinematographer arrived early to dress the set and set up the lighting, then the actors arrived shortly after we were finished. As mentioned earlier, I had created my shot list and discussed it with the cinematographer prior to the shoot, so we knew precisely what shots we needed to capture.

One of my favourite aspects of collaborating with people, especially in person, is that serendipity often occurs. Throughout the day there were various moments where we captured perfect shots that I hadn’t even considered. These are always exciting moments that let me know we're on the right path.

The cinematographer and I spent a lengthy 15-hour day capturing all the shots, with the actors available for only nine of those hours. We were both exhausted at the end of the shoot, but I was thrilled with the shots we captured.
In the original film, the ‘videodrome signal’ takes over the protagonist’s mind and body, then begins to control him. To symbolise this metamorphosis I wanted to use practical effects, and with that in mind I decided to explore macro liquid reactions. The results of the liquid reactions perfectly captured this transformation - chaotic and unpredictable.

The shoot to capture this effect lasted one day, and we recorded over two hours of footage at 4K 100fps. The experience of getting away from the computer and capturing an effect practically was really enjoyable, the process of design is typically one of precision and perfectionism, and using liquid allowed us to take a step back and watch the magic unfold as the camera captured minute details the naked eye couldn’t.

We used the Sony a7siii and a 100mm macro lens to shoot at 4k 100fps. Here are the various liquid combinations we experimented with on the day:

- White medium + acrylic ink + isopropyl alcohol
- Pills in water + ink + oil
- Ink/paint + oil + isopropyl alcohol
- Ferrofluid + magnet + ink
I had recently got my hands on a Video Synthesiser and I knew it was going to be a game-changer for this project. It was the perfect tool for adding an analogue retro aesthetic and unpredictable video glitches that would have been impossible to achieve using digital effects.

A video synthesiser is a device that generates and manipulates analogue video signals, creating insane glitches and distortions. The synthesiser I used was made by Tachyons+. He creates all his gear by modifying obsolete devices from the 80s and 90s.

Gear:
- Video Synthesiser (created by Tachyons+)
- CRT Trinitron 14" TV
- Laptop
- Sony A7iii (to film the CRT TV)

Setup:
Laptop -> Video Synthesiser -> CRT TV -> Camera filming TV​​​​​​​

Below is a compilation of my favourite video synth treatments that never made the cut.
My initial desire for this project was to capture every shot through practical filming. However, with a self funded budget and limited time I knew I needed to explore alternative options.

This led me to dive into the world of Octane render and expand my knowledge of the programme. While I was already well-versed in Cinema 4D, I hadn’t had much experience using an external renderer, and Octane enabled me to elevate my 3D work to a new level. In addition, a few shots called for some visual effects magic, which I created within After Effects.
In the film the protagonist watches a programme called Videodrome, and after consuming the 'videodrome signals' he begins to hallucinate, seeing himself committing violent acts. The videodrome signals are never pictured in the original film, so it was completely up to my own imagination to depict them.

I wanted to create an abstract light trail effect that felt like electricity flying through a cable, and to achieve this, I knew long exposure photography was going to be a crucial part of the process.

After much research and experimentation, I settled on the following process:
Step 1: Walking around the city and capturing hundreds of long exposure photos to obtain organic light trails.
Step 2: Sequencing those images to create a moving frame-by-frame video.
Step 3: Using After Effects, I layered the video in 3D space and flew a camera through it in various ways until I achieved the desired effect.
With AI-generated art becoming increasingly popular, I was curious to see how I could incorporate it into my process. To do this, I decided to dedicate one shot in the title sequence to AI. The results were really impressive, although very limited in making custom adjustments.

Using Midjourney 5, I was able to create a cinematic close-up shot of a hand holding a gun. I was amazed at how the AI generated a hyper realistic render based on just text prompts and a couple of reference images. However, it lacked the ability to adjust the image to my liking, such as camera angle, lighting, and colour. Therefore if I was to incorporate Midjourney into my process, currently I can only see myself using it in the brainstorming and research phase of a future project.

In addition, Midjourney (thankfully) is not yet capable of creating moving images, therefore I put the final image into After Effects and used a displacement map to simulate a 3D camera rotation. Finally, I ran the render through my CRT + Video Synthesiser setup, adding an analogue aesthetic and glitch transitions that gave the shot its impact.